 |
| From PencilPostBed |
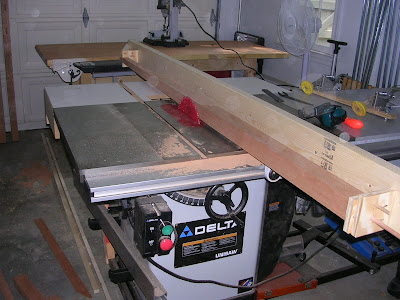
Once I had the whole thing built, it still took me over an hour to get up the nerve to make the cuts! Once I got started though, it was a piece of cake. Here is a shot, not a great one, looking back down the jig.
 |
| From PencilPostBed |
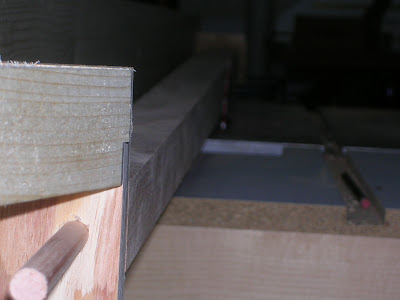
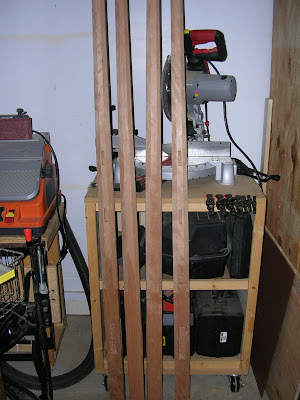
And here are all four posts done with the tapers.
 |
| From PencilPostBed |
Now, remember that 4 sides on each post recieve a stopped taper. This is becuase I chose to include the lambs tounge detail. Using a pattern, I outlined the curve on each side of the posts and used a carving knife, file and sandpaper to do the details; 16 in all (4 each post). This was not nearly as hard as I thought it would be. I have a picture of the finished product below.
Basically, that was all of the hardest parts. The only other challange was drilling long, straight, holes for the bed bolts for the rails. I simply used a dowel jig to get the hole started and then finished it up. Below are some pictures of the final project.
Lambs Toung detail:
 |
| From PencilPostBed |
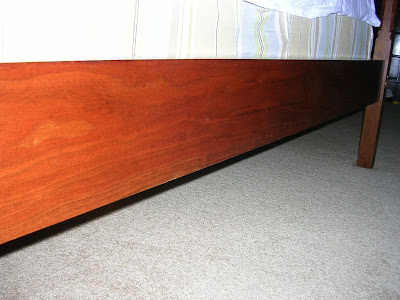
Rails:
 |
| From PencilPostBed |
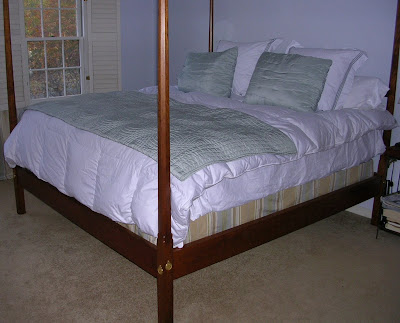
Whole bed:
 |
| From PencilPostBed |
The finish is sort of my own making I suppose. The bed is cherry, so I really just wanted to put some boiled lindseed oil (BLO) on it and some wipe on polyurethane, but my wife wanted a darker, aged look. So, what I typically do now is, I will put a heavy coat of BLO onto the piece and let it soak in good. Then, I use at least 3 coats of Watco, walnut colored, Danish oil. Simply wipe it on with a rag, let it set for a minute, and wipe off any that remains. The key to this is to have the surface as smooth as possible. Then, I simply put on 5 coats of a satin wipe on poly.
Overall, this was one of my most challenging projects, again due to the size, but it was pretty fun looking back on it. Let me know your thoughts...
No comments:
Post a Comment